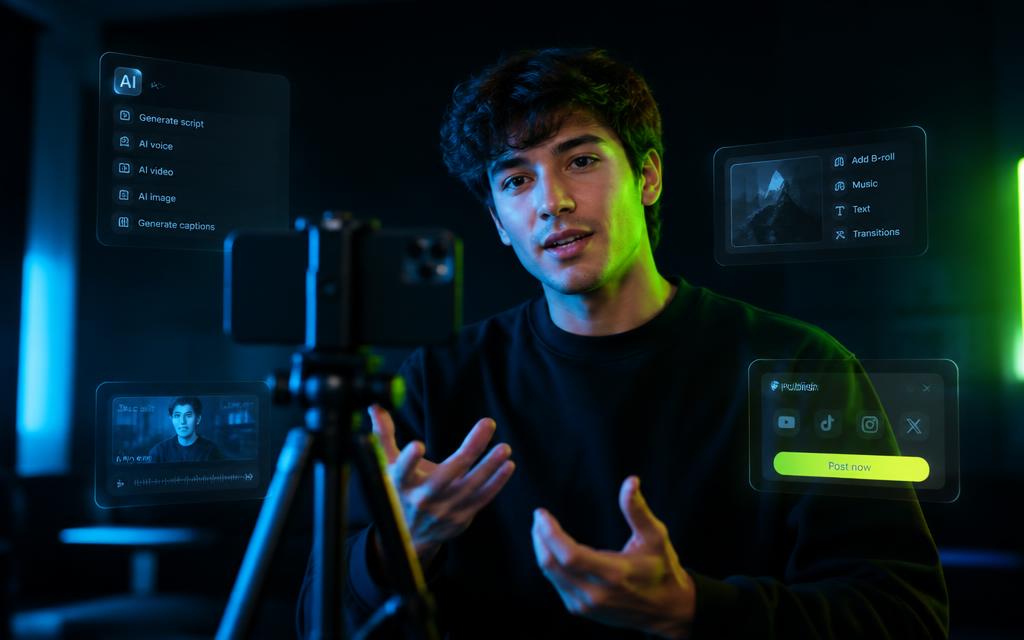
Most people who want to start a YouTube channel don't stop because of the camera. They stop because a single video needs six different things at once: an idea, a script, visuals, a voice, an edit and a thumbnail. Each one lives in a different app, and by the time you've stitched them together the motivation is gone.
This guide walks through the version of that process where every step happens inside 7LabsAI. You'll end with a complete video package you can upload the same day.
What you'll learn
- How to turn a one-line idea into a spoken script
- How to generate a visual set that looks like it belongs together
- How to record a voiceover without a microphone
- How to mix voice and music into a single audio track
- How to build a thumbnail from the visuals you already made
Step 1: Turn your idea into a script
Open AI Script Writer and give it the plainest version of your idea — "five things I wish I knew before starting a channel" is enough. Ask for a spoken script rather than an article, and state the length you want in minutes, not words.
Read the first draft out loud. If a sentence is hard to say, rewrite it. The script is the only part of the video that carries your voice, so this is the step worth spending real time on.
Ask for the hook separately. Generate five opening lines, pick the one you'd actually say, and paste it back over the original intro.
Step 2: Generate your visuals
Break the script into scenes — usually one visual for every 15 to 20 seconds of narration. In Text to Image, describe each scene with the same style sentence at the end of every prompt (for example: "flat editorial illustration, warm palette, soft shadows"). Repeating that sentence is what keeps the set consistent.
Frames that are nearly right don't need regenerating. Send them to AI Image Editor and fix the one thing that's off.
Step 3: Generate the voice
Paste the script into Generate Voice and generate one section at a time. Short sections are easier to re-do, and they let you vary the pace between the hook, the body and the closing line.
Punctuation controls delivery more than any setting does. Commas create breaths, full stops create pauses, and a line break between paragraphs creates a beat.
Step 4: Prepare the audio
In AI Audio Studio, drop the voice sections onto the timeline in order and add a music bed underneath. Keep the music roughly 18–20 dB below the voice — if you notice the music while listening to the words, it's too loud.
Step 5: Create the thumbnail
Take the strongest visual you generated and open Thumbnail Maker. Use three or four words maximum, set at a size you can still read on a phone at arm's length. The thumbnail and the title should say two different things, not the same thing twice.
Step 6: Assemble and publish
Export the audio track, the visual set and the thumbnail. Lay the images over the narration in your editor, cut on sentence boundaries, and upload.
Common mistakes
- Writing the script as an essay instead of as speech
- Changing the style wording between image prompts, so the set looks mismatched
- Generating one long voice file that has to be redone entirely for a single typo
- Putting the title text on the thumbnail as well
Now it's your turn. Pick one idea you've been sitting on and run it through the six steps exactly as written.
Ready to create your own video? Open 7LabsAI and start with the script.
Create with 7LabsAI